Build Production-Ready UI with Figma's MCP Server + Cursor
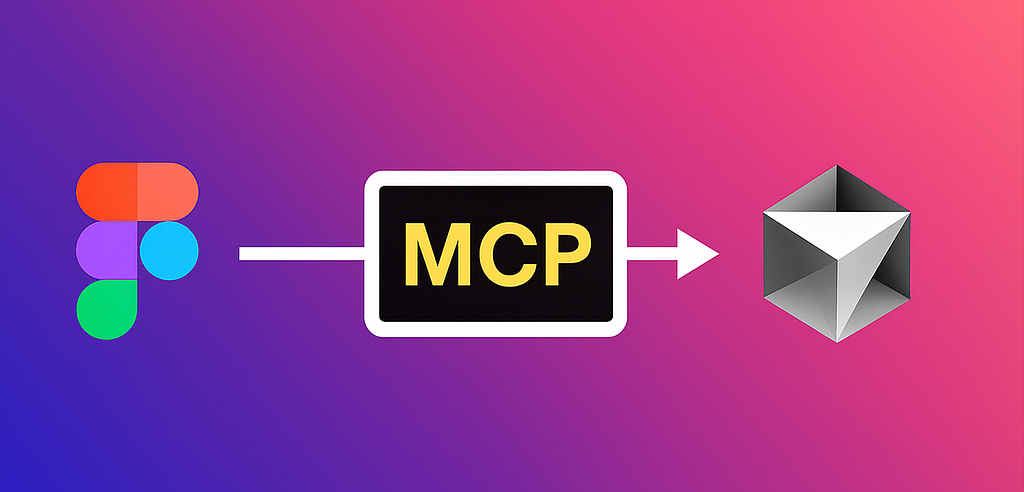
Traditional design-to-code workflows involve manual pixel guessing and code copying. MCP (Model Context Protocol) bridges Figma designs directly into your IDE.
What is MCP?
Described as "USB-C for AI tools," MCP enables AI-powered apps like Cursor to access real design context including layouts, colors, spacing, images, and links without manual extraction.
Step 1: Enable MCP in Figma Desktop
- Open Figma menu (top-left)
- Navigate to Preferences → Enable Dev Mode MCP Server
- Server runs locally at:
http://127.0.0.1:3845/mcp
Step 2: Connect Figma MCP to Cursor
Open Cursor → Settings → MCP tab → Add Custom MCP server:
{
  "mcpServers": {
    "Figma": {
      "url": "http://127.0.0.1:3845/mcp"
    }
  }
}
Step 3: Pass Context to Cursor
Selection-based: Pick a frame/layer in Figma and prompt Cursor to implement the selection.
Link-based: Copy a frame/layer link and paste into Cursor. It extracts the node-id and fetches details via MCP.
Supercharging with .cursorrules
Create project-specific guidelines:
# Email template rules (HTML/CSS)
- Do NOT use flexbox; use tables/columns for layout.
- Max template width: 600px.
- Use inline CSS where necessary for client compatibility.
- Buttons: height 44px, border-radius 6px, brand color #0B5FFF.
- Typography: h1 28px/36px, h2 22px/30px, p 16px/24px.
Quality Assurance
Generated code achieves 80-90% accuracy. Always verify spacing, typography alignment, email client compatibility (Gmail, Outlook, Apple Mail), dark mode support, and tracking links.